
動作環境
- Mac OS 11.3
- Flutter 2.0.6
- Dart 2.12.3
- IntelliJ 2021.1.1 (Ultimate Edition)
環境構築
Dartをインストール
Homebrewで必要なものをインストールしていきます。
まず、Dartをインストールします。
brew install dartFlutter
次に、Flutterをインストールします。
brew install flutter確認
flutter doctor コマンドで、開発に必要なソフトウェアがインストールされているか確認します。
flutter doctorDoctor summary (to see all details, run flutter doctor -v):
[✓] Flutter (Channel stable, 2.0.6, on macOS 11.3 20E232 darwin-x64, locale ja-JP)
[✗] Android toolchain - develop for Android devices
✗ Unable to locate Android SDK.
Install Android Studio from: https://developer.android.com/studio/index.html
On first launch it will assist you in installing the Android SDK components.
(or visit https://flutter.dev/docs/get-started/install/macos#android-setup for detailed instructions).
If the Android SDK has been installed to a custom location, please use
`flutter config --android-sdk` to update to that location.
[!] Xcode - develop for iOS and macOS
✗ CocoaPods not installed.
CocoaPods is used to retrieve the iOS and macOS platform side's plugin code that responds to your plugin usage on the Dart side.
Without CocoaPods, plugins will not work on iOS or macOS.
For more info, see https://flutter.dev/platform-plugins
To install see https://guides.cocoapods.org/using/getting-started.html#installation for instructions.
[✓] Chrome - develop for the web
[!] Android Studio (not installed)
[✓] IntelliJ IDEA Ultimate Edition (version 2021.1)
[✓] VS Code (version 1.55.2)
[✓] Connected device (1 available)
! Doctor found issues in 3 categories.問題がある場合は!や☓マークで表示されます。
それぞれ以降で設定しながら問題を解決します。
iOSの設定
AppStoreでXcodeをインストールします。
インストールが完了しtら、Xcodeを起動し、許諾に同意します。
https://apps.apple.com/jp/app/xcode/id497799835
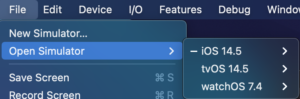
以下のコマンドでシミュレータを起動します。
open -a Simulator利用するデバイスはメニューバーの[File] → [Open Simulator] から選択出来ます。
デバイスを選択し、起動することを確認してください。
Androidの設定
まず、Android Studioをインストールします。
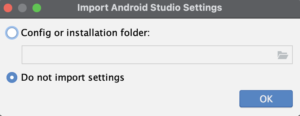
Android Studioを起動します。
Importする設定がない場合は、「Do not import settings」を選択し、OKをクリックします。
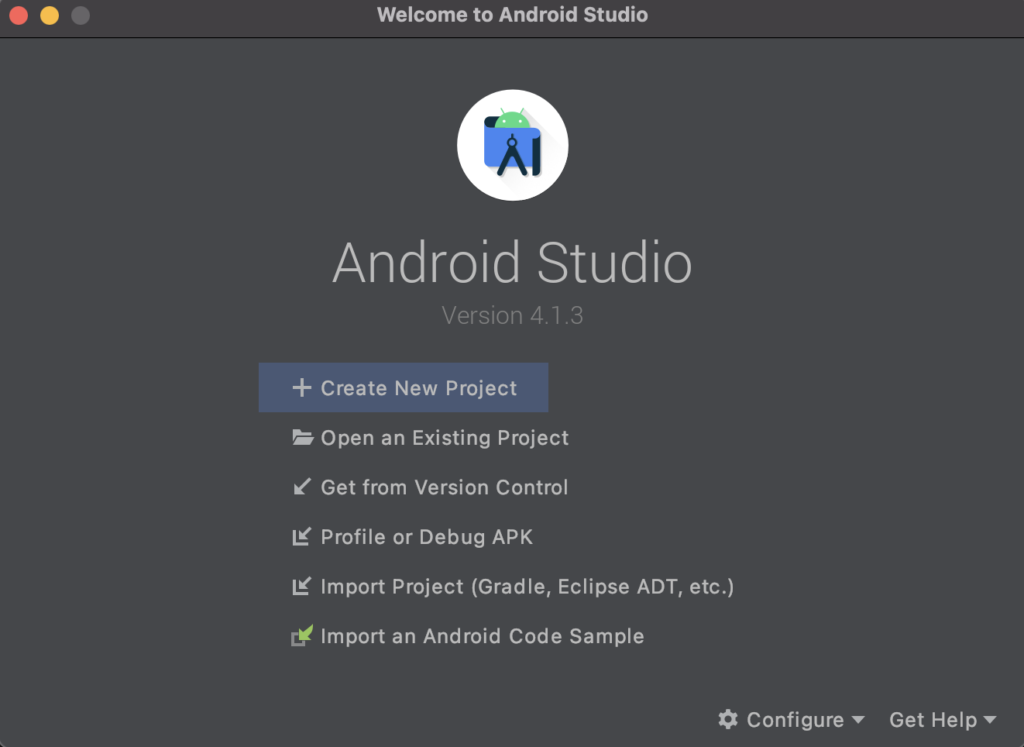
「Android Studioセットアップウィザード」に従いセットアップを実行します。

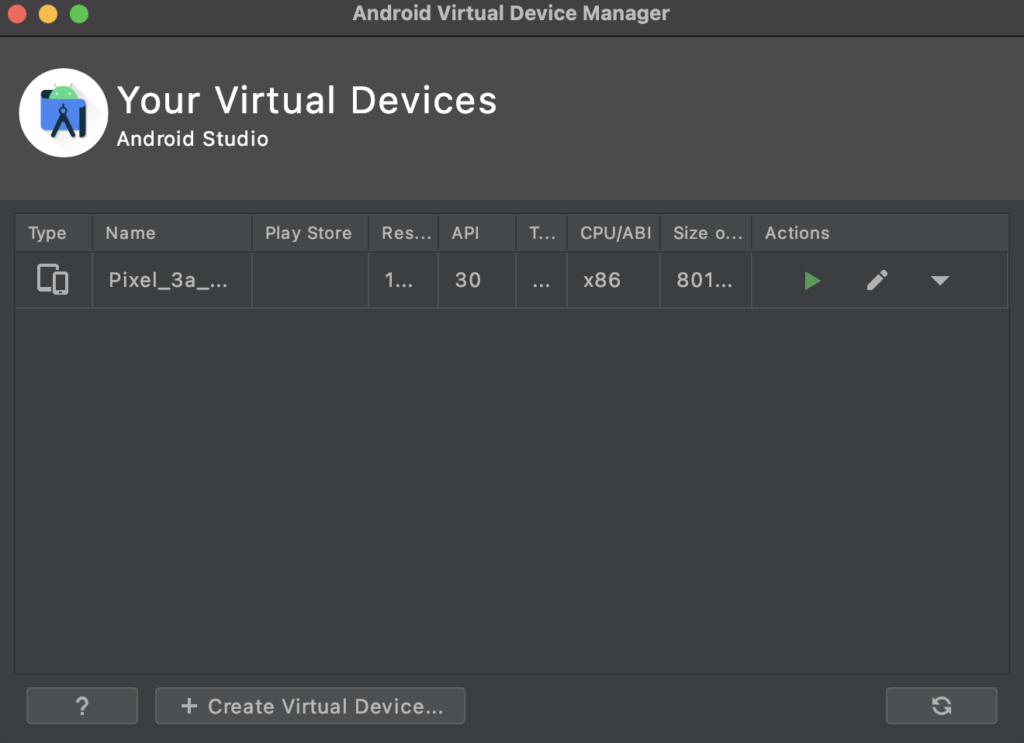
エミュレータを設定します。
Android Studioを起動し、 右下の[Configure] → [AVD Manager]をクリックします。
[Create Virtual Device]を選択して新規に希望するエミュレータを作成します。
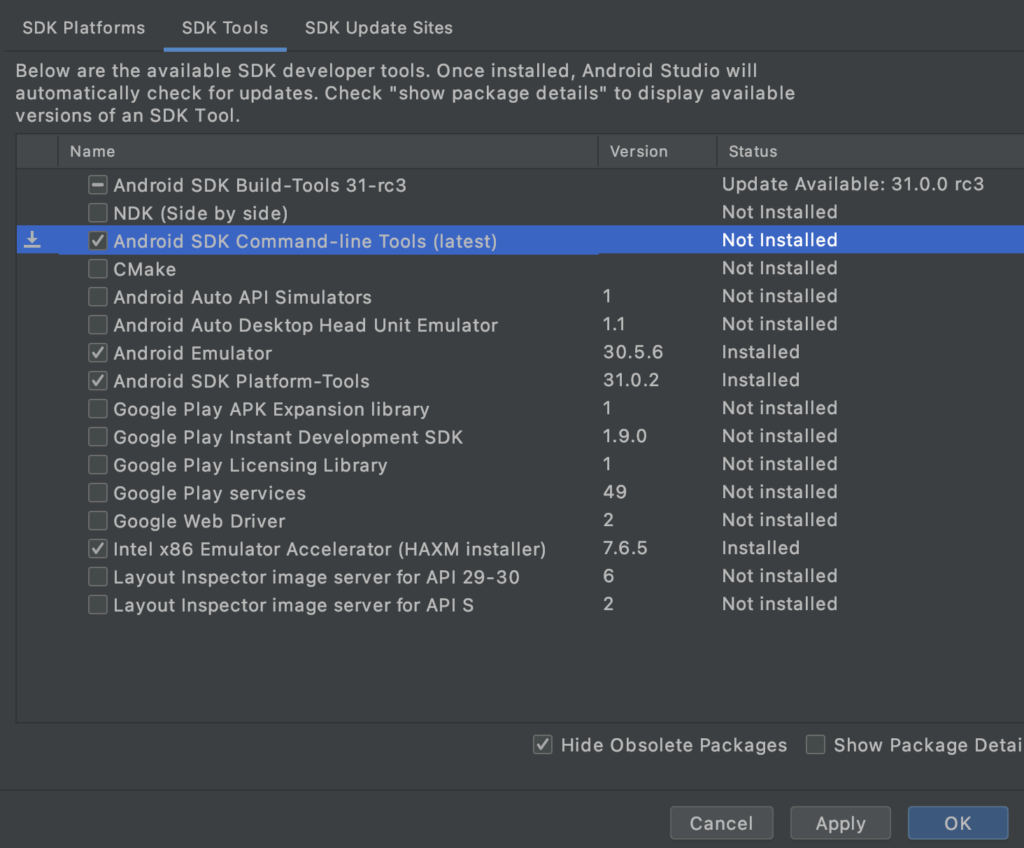
続いて、右下の[Configure] → [SDK Manager]をクリックします。
[Android SDK] > [SDK Tools]の画面を開きます。
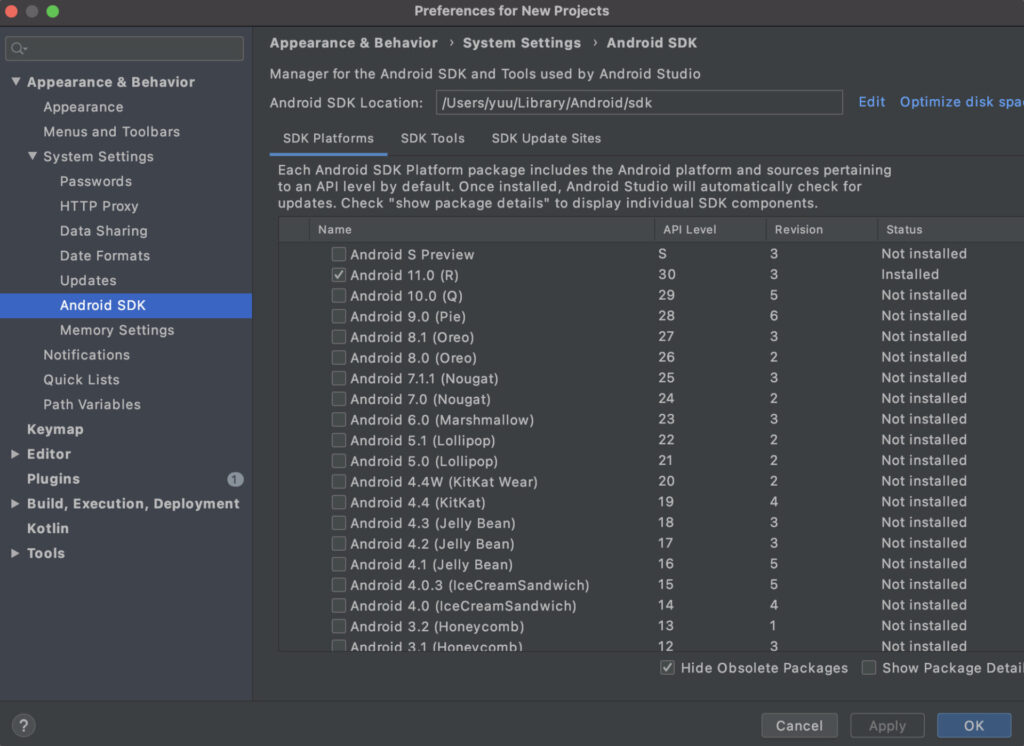
Android SDK Command-line Tools にチェックを入れ、OKをクリックしてインストールします。
flutter doctorのエラーを解決していく
flutter doctorで表示されたエラーを解決していきます。
[✗] Android toolchain
以下のコマンドを実行します。
表示される確認すべてに y を入力してください。
flutter doctor --android-licenses✗ CocoaPods not installed.
以下のコマンドを実行します。
brew install cocoapodspod setup確認
再度、flutter doctor コマンドで確認します。
flutter doctorすべて [✓] になればOKです。
Doctor summary (to see all details, run flutter doctor -v):
[✓] Flutter (Channel stable, 2.0.6, on macOS 11.3 20E232 darwin-x64, locale ja-JP)
[✓] Android toolchain - develop for Android devices (Android SDK version 30.0.3)
[✓] Xcode - develop for iOS and macOS
[✓] Chrome - develop for the web
[✓] Android Studio (version 4.1)
[✓] IntelliJ IDEA Ultimate Edition (version 2021.1.1)
[✓] VS Code (version 1.55.2)
[✓] Connected device (1 available)

• No issues found!
エディタ(IDE)設定
IntelliJで開発したいため、IntelliJで開発できるように設定します。
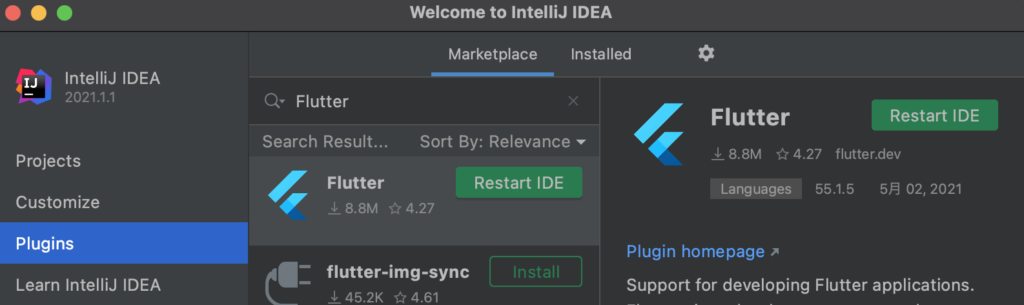
IntelliJ にプラグインのインストール
IntelliJにFlutterとDartのプラグインをインストールします。
IntelliJを起動し、Plugins で 「Flutter」を検索します。
表示された「Flutter」のInstallをクリックします。

Install Required Plugins と表示されたら Install をクリックします。

Restart IDE をクリックし、IntelliJを再起動します。
新しいプロジェクトを作成
New Projects をクリックし、新しいプロジェクトを作成します。

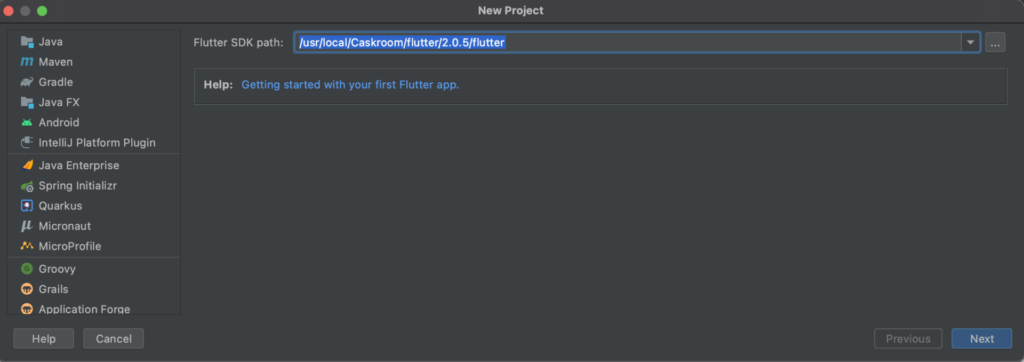
SDKの場所を指定
Homebrewでインストールしたので、/usr/local/Caskroom/flutter にあると思います。
インストールしたバージョンに合わせて指定してください。
指定したらNextをクリックします。
任意の「Project name」、「description」、「Organization」を入力し、Finishをクリックします。
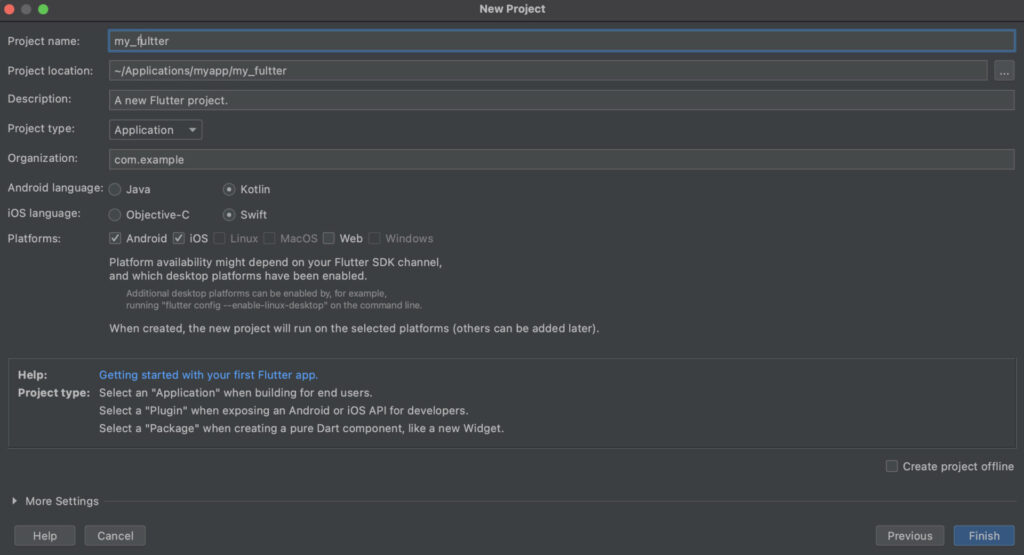
これでアプリの基礎ができました。
アプリの実行
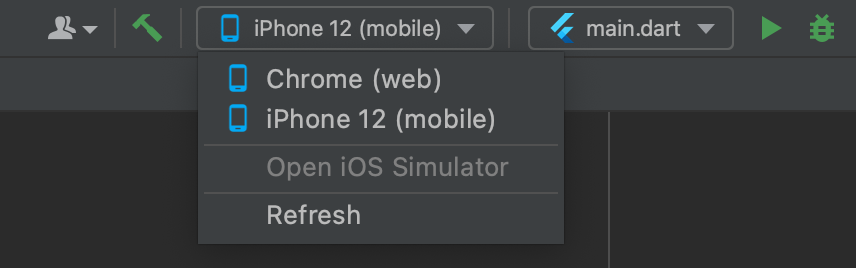
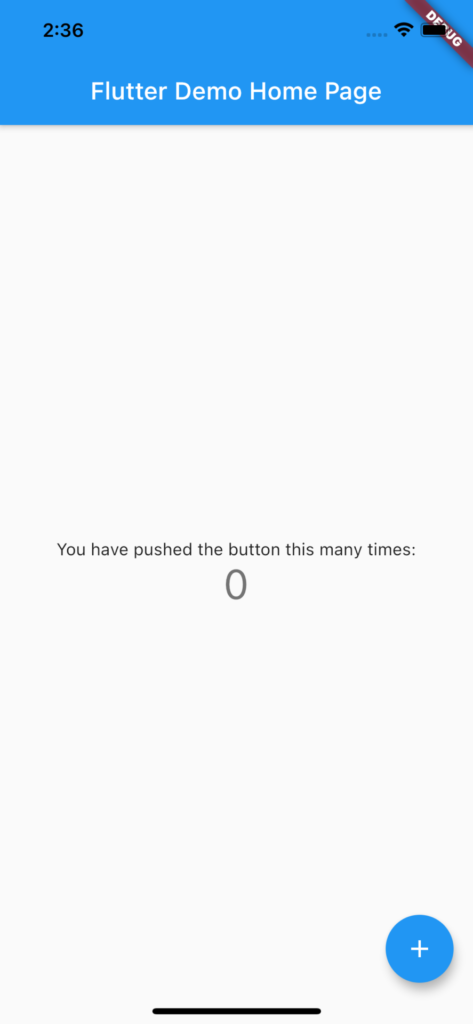
アプリを実行します。
ツールバーで、起動中のデバイスを選択し、▶をクリックするとアプリが実行されます。
以上です。